TV wall mount installation enhances viewing experiences by saving space and improving aesthetics. It requires compatibility checks, adhering to safety guidelines, and following step-by-step instructions for secure setup.
1.1 Benefits of Wall Mounting Your TV
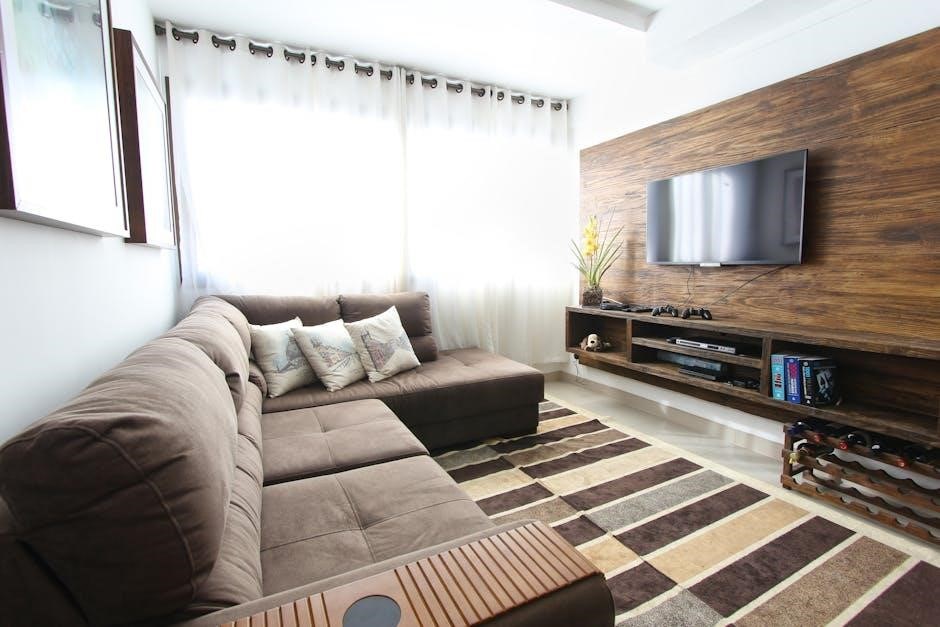
Wall mounting your TV offers numerous advantages, including space-saving, improved aesthetics, and enhanced viewing angles. It keeps your TV at an optimal height, reducing neck strain and glare. Mounting also protects your TV from accidental knocks and spills, ensuring safety. Additionally, it hides unsightly cables, creating a sleek, modern look. This setup is ideal for small rooms, as it frees up floor and furniture space. Proper installation ensures stability, preventing potential damage. Overall, wall mounting combines functionality and style, making it a practical and visually appealing solution for any home or office setup. It’s a smart way to elevate your entertainment experience while maintaining a clutter-free environment.
1.2 Importance of Proper Installation
Proper installation is crucial for ensuring the safety and stability of your TV. Incorrect mounting can lead to the TV tilting, swiveling unevenly, or even falling, causing damage or injury. A well-executed setup guarantees that your TV remains secure, level, and properly aligned. It also prevents potential damage to the wall and the mount itself. Following the manufacturer’s instructions closely is essential to avoid errors. Proper installation ensures optimal viewing angles and minimizes the risk of mechanical failure. Additionally, it protects your investment by maintaining the TV’s functionality and longevity. A correct setup also enhances the overall aesthetic appeal, making it a vital step in achieving a professional-looking installation. Always prioritize precision and care during the process to ensure long-term reliability and satisfaction;

Preparing for Installation
Gather all tools and materials, verify VESA patterns, and ensure the mount suits your TV size and weight. Check wall type and stud locations for secure mounting.
2.1 Tools and Materials Needed
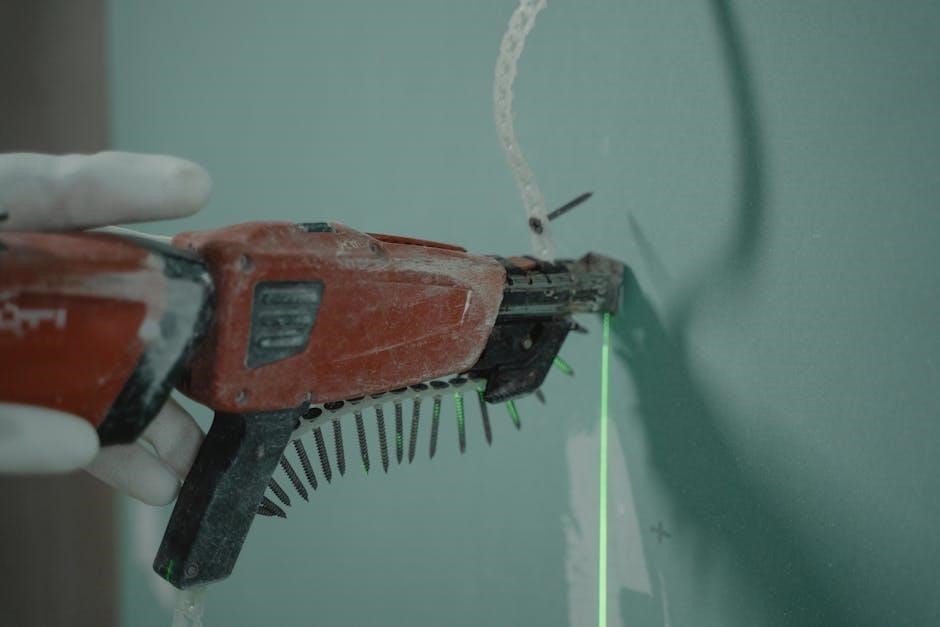
Essential tools include a drill, screwdrivers, stud finder, level, and wrench. Materials required are the wall mount, M4 x L14 screws, wall anchors, and spacers. Ensure compatibility with your TV’s VESA pattern and weight capacity. Verify wall type (wood studs recommended) and gather additional bolts or washers if needed. Always refer to the TV manual for specific mounting hardware requirements. Double-check the weight limits and structural needs for a secure installation. Proper tools and materials ensure a stable and safe setup, preventing potential damage or injury.
2.2 Choosing the Right Wall Mount for Your TV
Selecting the right wall mount involves considering TV size, weight, and VESA pattern. Fixed, tilt, swivel, or articulating mounts are options. Ensure the mount supports your TV’s weight and screen size. Check VESA compatibility to avoid installation issues. Read reviews and product specifications to match your needs. Universal mounts often work but may require adapters. Consider wall type and desired viewing angles. Proper selection ensures a secure and functional setup, enhancing your viewing experience while maintaining stability and safety. Always refer to the installation manual for specific recommendations tailored to your TV model and wall structure.
2.3 Understanding VESA Patterns and Compatibility
VESA (Video Electronics Standards Association) patterns define the mounting hole configurations on the back of your TV. Ensure your TV’s VESA pattern matches the wall mount. Common patterns include 200x200mm, 400x400mm, and others. Measure the horizontal and vertical distance between the mounting holes to confirm compatibility. Mismatched patterns can lead to installation issues or instability. Refer to your TV’s manual for exact VESA details. Additionally, verify the weight capacity of the mount to support your TV. Proper alignment and compatibility prevent damage and ensure a secure installation. Always check for VESA certification on the mount to guarantee reliability and safety. This step is crucial for a successful and stable setup.
Installation Steps
Mount the bracket to the wall, attach the TV plate, and securely hang the TV. Tighten all screws, ensuring stability and proper alignment for a safe setup.
3.1 Attaching the Mount to the TV
3.2 Mounting the Bracket to the Wall
Locate the wall studs using a stud finder to ensure the bracket is securely mounted. Drill pilot holes into the wall, aligning them with the bracket’s mounting holes. Use the provided screws or appropriate wall anchors to attach the bracket firmly. For wood studs, M4 x L14 screws are typically sufficient, while concrete or brick may require specialized anchors. Ensure the bracket is level and aligns with the VESA pattern on your TV. Tighten all screws evenly to avoid uneven weight distribution. Double-check the weight capacity of the mount to confirm it supports your TV. If unsure about wall structure, consult a professional for safe installation. Proper wall mounting ensures stability and prevents potential damage or hazards.
3.3 Hanging the TV on the Wall Plate
Carefully lift the TV and align its mounting hooks with the wall plate. Gently lower the TV onto the plate, ensuring the hooks click securely into place. Tighten the thumb screws or locking mechanism to hold the TV firmly. Double-check that the TV is level and properly seated. If the mount allows tilting or swiveling, adjust it to your desired viewing angle. Ensure all screws are tightened evenly to prevent uneven weight distribution. Verify the TV’s weight does not exceed the mount’s capacity and that the VESA pattern is correctly aligned. If unsure, seek assistance to avoid accidents or damage. Properly securing the TV ensures stability and safety.
Safety Precautions
Always follow safety guidelines to prevent accidents. Ensure the mount is securely attached to sturdy wall studs. Never exceed the weight limit specified in the manual.
4.1 Warnings and Safety Guidelines
Ensure the TV wall mount is installed on a sturdy wall with wood studs of at least 2 x 4 inches. Never mount on metal framing, brick, or cinder block without professional verification. Always follow the weight and size limits specified in the manual. Use the provided screws or compatible alternatives to avoid damage. Turn off the TV before installation and keep it unplugged until the process is complete. Avoid over-tightening screws, as this may damage the TV or mount. If unsure about any step, consult a professional installer. Proper installation ensures safety and prevents potential injuries or damage to your TV and property.
4.2 Weight Limits and Structural Requirements
Always adhere to the weight limits specified in your TV wall mount’s manual to ensure stability. Verify your TV’s weight and size match the mount’s capacity. Check the VESA pattern compatibility to guarantee a secure fit. Wall structures must be sturdy, with wood studs at least 2 x 4 inches for standard installations. For cinder block or brick walls, consult a professional to confirm thickness and stability. Never exceed the recommended weight or install on metal framing without proper reinforcement. Ensure the wall can support the combined weight of the TV and mount. Ignoring these requirements may lead to instability or damage, risking safety and equipment integrity.

Post-Installation Adjustments
After installation, level the TV for optimal viewing, adjust the tilt and swivel to achieve the desired angle, and secure the TV firmly to ensure stability and safety.
5.1 Leveling the TV for Optimal Viewing
Ensure the TV is perfectly horizontal by using a spirit level during installation. Adjust the mount’s tilt mechanism to achieve proper alignment. Verify the TV’s position from multiple viewing angles to confirm symmetry and balance. Fine-tune the mount’s horizontal adjustment knobs to eliminate any slant or unevenness. Once leveled, tighten all screws securely to maintain stability. Proper leveling prevents eye strain and enhances the overall viewing experience. Always refer to the installation manual for specific leveling instructions tailored to your mount model. This step is crucial for both functionality and aesthetics.
5.2 Tilting and Swiveling the Mount
Tilting and swiveling the mount allows for customizable viewing angles, ensuring optimal screen alignment from any position in the room. To adjust, loosen the tilt screws slightly, then gently tilt or swivel the TV to achieve the desired position. Once adjusted, tighten the screws firmly to secure the TV in place. Ensure the mount’s swivel range does not exceed its maximum capacity, as specified in the installation manual. Proper tilting and swiveling enhance viewing comfort and reduce glare. Always test the mount’s stability after adjustments to ensure the TV remains secure. This feature is particularly useful for multi-viewing angle setups or for minimizing reflections on the screen.
5.3 Securing the TV for Stability
Securing the TV for stability involves ensuring all connections are tightened properly and the mount is firmly attached to the wall. After hanging the TV, check that all screws and bolts are tightened to prevent any movement. Regularly inspect the mount and TV for signs of wear or loosening. Ensure the TV’s weight does not exceed the mount’s capacity, as specified in the installation guide. For added stability, double-check that the wall plate is securely fastened to wall studs or a sturdy anchor. If unsure, consult a professional to verify the setup. Proper securing ensures long-term safety and prevents potential damage or accidents.
Troubleshooting Common Issues
Common issues include alignment problems, stability concerns, and hardware malfunctions. Check VESA compatibility, ensure proper weight distribution, and verify all screws are tightened securely for optimal performance.
6.1 Addressing Alignment Problems
Alignment issues can arise during TV wall mount installation, such as uneven positioning or misaligned brackets. To fix this, ensure the wall mount is level using a spirit level tool. Loosen the mounting brackets slightly to adjust the TV’s position horizontally or vertically. Verify that the VESA pattern on the TV matches the mount’s compatibility. If the TV is still crooked, check for loose screws or uneven wall studs. Tighten all hardware firmly but avoid over-tightening, which may damage the TV or mount. If issues persist, consult the installation manual or contact a professional for assistance. Proper alignment ensures stability and optimal viewing angles.
6.2 Solving Stability Concerns
Stability issues with a TV wall mount can occur due to improper installation or hardware overload. Ensure the mount is rated for the TV’s weight and size. Check wall anchors for secure placement in studs, especially for heavy TVs. If the mount feels wobbly, tighten all screws and bolts firmly. Verify that the VESA pattern aligns correctly with the mount to prevent uneven weight distribution. For added stability, use anti-tip brackets or reinforced wall plates. If instability persists, consult the installation manual or contact a professional. Properly addressing stability concerns ensures the TV remains secure and prevents potential damage or safety hazards.